
This guide contains affiliate links. If you buy through them we may earn a small commission, at no extra cost to you. See our affiliate disclosure.
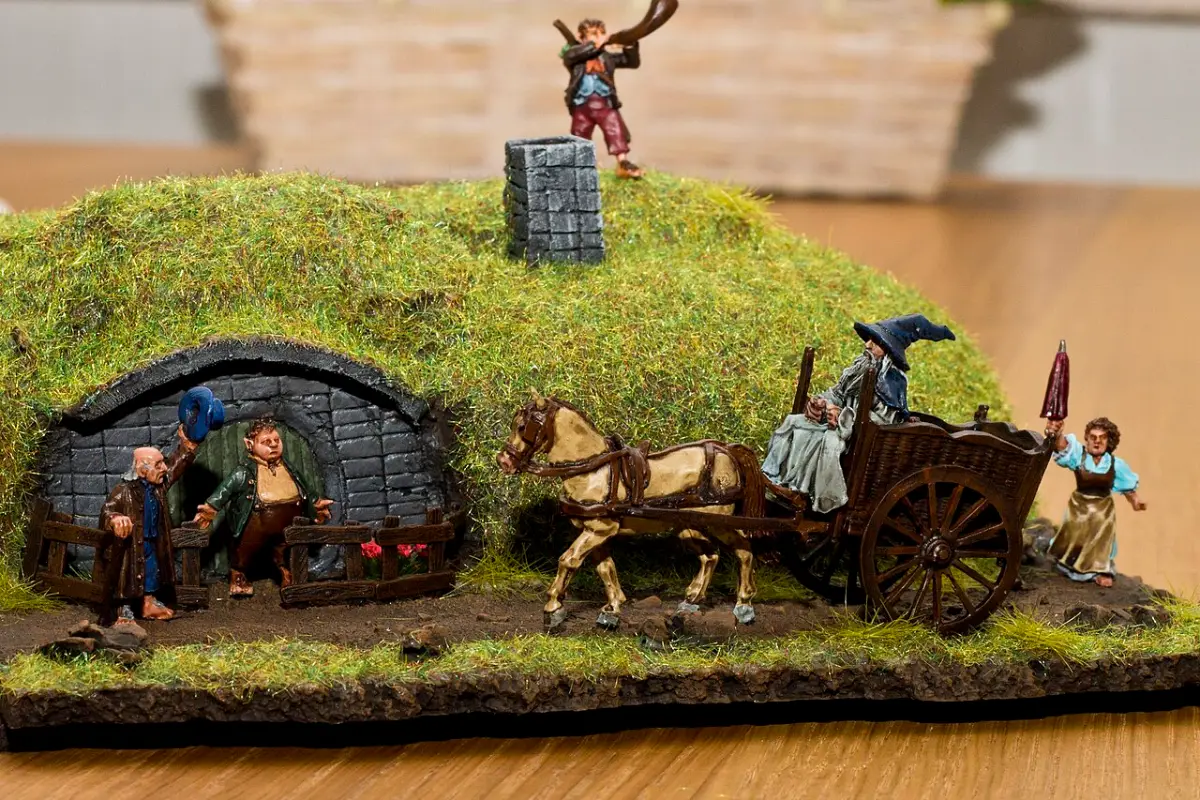
A thatched cottage is one of the most useful pieces of terrain for a Middle Earth table. It works as a Rohan farmstead, a village on the edge of the Westfold, or a hamlet in the Shire with a bit of paint. This guide builds one from cheap household materials, sized for 28mm heroic scale models.
What You Need
- 5mm foam board or thick card for the walls
- Coffee stirrers or thin balsa strips for timber beams and the door
- A teddy bear fur offcut, a cheap paintbrush with long bristles, or a coir doormat for thatch
- Fine sand or textured paint for the walls and base
- PVA glue and a hot glue gun
- A craft knife, a steel ruler and a cutting mat
- A thin MDF or plasticard base, slightly larger than the cottage
Sizes for 28mm Heroic Scale
These are a good starting point. A typical 28mm hero is about 30 to 35mm tall, so doors and walls need to feel generous.
- Footprint: about 150mm by 100mm
- Wall height: about 60mm at the eaves
- Gable ends: rise to about 110mm at the peak
- Door: about 45mm tall and 25mm wide
- Windows: about 20mm square
Make the roof removable if you can. It lets you place models inside during games.
Step by Step
- Cut the walls. Two long walls, two gable ends with a pointed top. Cut the door and windows before you glue anything.
- Glue the box together with PVA, pinning the corners with cocktail sticks while it dries. Use hot glue for a quick hold if you like.
- Add the timber frame. Glue coffee stirrers along the corners, around the door and windows, and across the walls. Score the wood with a knife for grain.
- Texture the walls. Brush PVA between the beams and sprinkle fine sand, or use textured paint. This gives a rough daub finish.
- Build the roof. Cut two card panels that overhang the walls by about 10mm. Glue them together into a pitched roof that sits on top.
- Thatch it. Glue on your fur, bristles or doormat fibres in rows from the bottom up, overlapping like real thatch. Soak with watered down PVA to set it.
- Base it. Glue the cottage to the base, then add sand, small stones and a little path to the door.
Painting
- Prime the whole piece black or brown.
- Timber: a dark brown, then a drybrush of a lighter brown and a final light grey brown.
- Walls: a cream or pale ochre, with a brown wash and a light drybrush.
- Thatch: a mid brown, washed dark brown, then drybrush a straw yellow and a pale bone on top.
- Base: follow our basing guide so it matches your models.
Drybrushing does most of the work here. See our drybrushing guide for the technique.
Products That Help
- The Army Painter Masterclass Drybrush Set
- The Army Painter Battlefields Basing Set
- War World Scenics Summer Forest Scenery Starter Kit
Pair it with our wooden fence guide to build a whole farmstead, and see the terrain building guide for more ideas.