This guide contains affiliate links. If you buy through them we may earn a small commission, at no extra cost to you. See our affiliate disclosure.
Drybrushing is one of the first techniques most painters learn, and one they keep using for years. It picks out raised detail such as fur, mail, rocks and rough armour in seconds, and it makes bases and terrain come alive. This guide shows you how to do it, what to use and the mistakes to avoid.
What Drybrushing Does
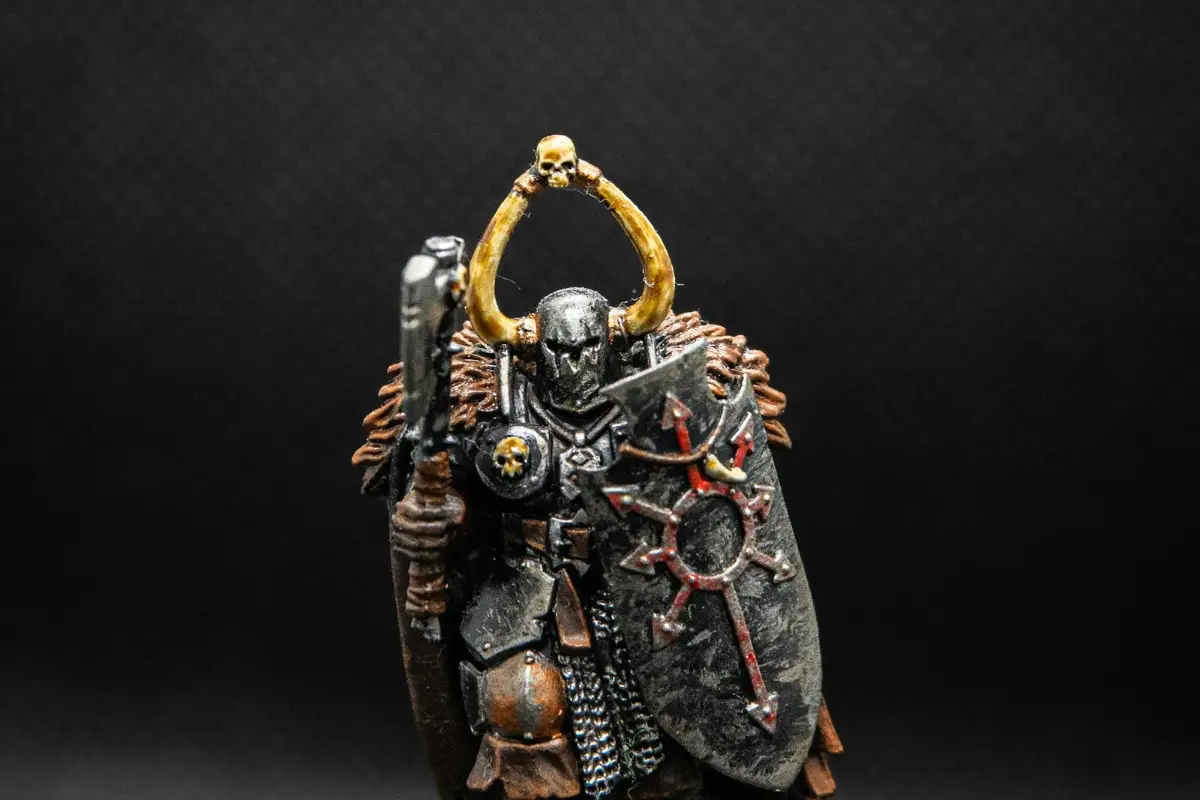
You load a brush with paint, wipe almost all of it off, then lightly sweep the brush across the model. The little paint left on the bristles only catches the raised edges, so the high points get lighter while the recesses stay dark. It is a quick way to highlight anything with lots of texture.
What You Need
- A drybrush. A stiff, flat or dome shaped brush. Drybrushing wears brushes out, so never use a good detail brush. See our brush guide.
- Paint. Dry paints are made for this, but any base or layer paint works. Pick a colour a few shades lighter than the area underneath.
- Paper towel to wipe the brush on.
- A shaded model. Drybrushing works best over a basecoat that has had a shade or wash, so the recesses are already dark.
How to Drybrush, Step by Step
- Load the brush by dipping just the tips of the bristles into the paint.
- Wipe it off on the paper towel until almost nothing comes off. Brush it on the back of your hand; you should see only a faint dusting.
- Sweep lightly across the area, at an angle to the texture, with quick back and forth strokes. Let the brush skim the surface.
- Build it up. If the effect is too subtle, repeat rather than adding more paint.
- Go lighter for the top layer. For a smoother result, do a second, lighter drybrush on just the very highest points.
Where to Use It
- Bases and terrain: rocks, sand and ruins. Our basing guide and terrain building guide use it throughout.
- Fur, hair and manes: great on horses, wolves and beasts.
- Mail and rough metal: a silver drybrush over a dark shaded metal makes mail pop.
- Rough armour and vehicles: Ork armour and tanks look battered and worn with a metallic drybrush.
Common Mistakes
- Too much paint. The most common problem. If it looks streaky or blotchy, there was too much paint on the brush. Wipe more off.
- Chalky results. Using a colour that is far too light, or drybrushing smooth surfaces, can look dusty. Use a closer colour and keep it to textured areas.
- Paint on the wrong parts. Drybrush first, then tidy up the parts next to it with your base colours.
- Pressing too hard. Let the brush skim. Pressing pushes paint into the recesses.
Brushes We Recommend
- The Army Painter Masterclass Drybrush Set: three goat hair drybrushes in different sizes.
- The Army Painter Hobby Starter Brush Set: includes a drybrush, a detail brush and a standard brush.
- Nicpro 20 piece miniature brush set: a budget set that includes drybrushes.
New to painting? Start with our Start Here guide and look up any unfamiliar terms in the Hobby Glossary.