
A good base frames your model and ties an army together. It is also one of the quickest ways to make a miniature look finished. Here are four easy styles to try.
What You Need
- Texture paint, or fine sand and PVA glue
- Paints for the ground: a dark base colour and one or two lighter colours for drybrushing
- An old brush for texture and drybrushing
- Optional extras: static grass, tufts, small stones, slate or snow effect
The Basic Method
- Apply texture paint, or brush on PVA and dip the base in sand. Tap off the excess and let it dry.
- Paint the ground in a dark colour.
- Drybrush with a lighter colour, then lighter again on the very top edges.
- Paint the rim of the base a neat, solid colour. Black or dark brown looks smart and suits most armies.
- Add tufts, grass or stones last.
Grass
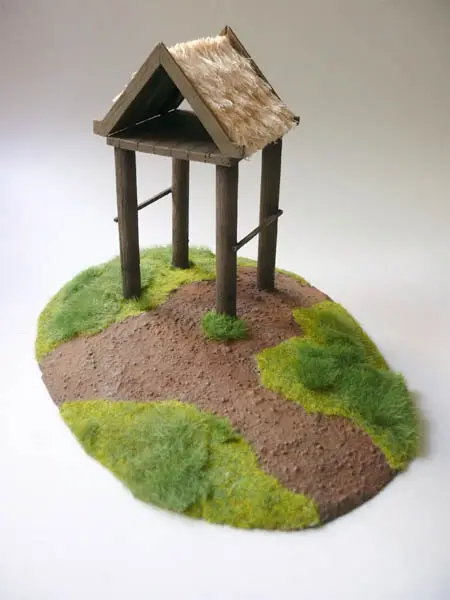
Paint the ground a mid brown, drybrush with a light brown or bone colour, then add patches of static grass or a few tufts. Don’t cover the whole base; small clumps look more natural.
Stone and Rubble
Glue on small stones, pieces of slate or cork before adding texture. Basecoat in dark grey, shade with black or brown, then drybrush with lighter greys. Great for ruined cities and mountain passes.
Desert and Sand
Use a pale texture or fine sand. Basecoat in a light tan, shade with a brown wash, then drybrush with a pale bone or cream colour. A few small rocks break up the surface nicely.
Snow
Finish a grass or rock base as normal, then add snow effect to the low areas and around the model’s feet, as if it had settled there. A little on top of rocks helps sell the effect. Keep it subtle rather than covering everything.
Tips
- Base the whole army in the same style. It makes the force look like it belongs together.
- Do the base before the final varnish so everything is sealed together.
- Keep tufts and grass away from where you hold the model while painting.
Building scenery to match your bases? Have a look at our terrain building guide.